I truly believe that one of the most important lessons in “adulting” is how to build the best charcuterie meat board. Okay fine, employment, taxes, general life survival skills, those probably come first. But the charcuterie board? Don’t underestimate its necessity.
I’ll never forget my first charcuterie board. C and I were 21, living in NYC and so excited to be hosting our first dinner party. Buying all the ingredients for the board felt so mature, including our stop at the fromagerie to buy “fancy cheese”. Also I’m pretty sure we paired it with $3 Trader Joe’s wine because we spent all of our money on cheese!
Nevertheless, it was my first lesson in that so long as you invest in quality ingredients, the “rules” of the charcuterie board really don’t matter. There are endless meats, cheeses and accoutrements to build the board, but I truly believe that making it your own is half the battle.
I’m going to give you an outline of ingredients to buy so you know where to start, but feel free to experiment. This charcuterie board typically feeds around 8 people, so don’t be afraid to double everything. Though I don’t suggest halving it because let’s be real, who’s complaining about having leftover meat and cheese?
Let’s jump in…
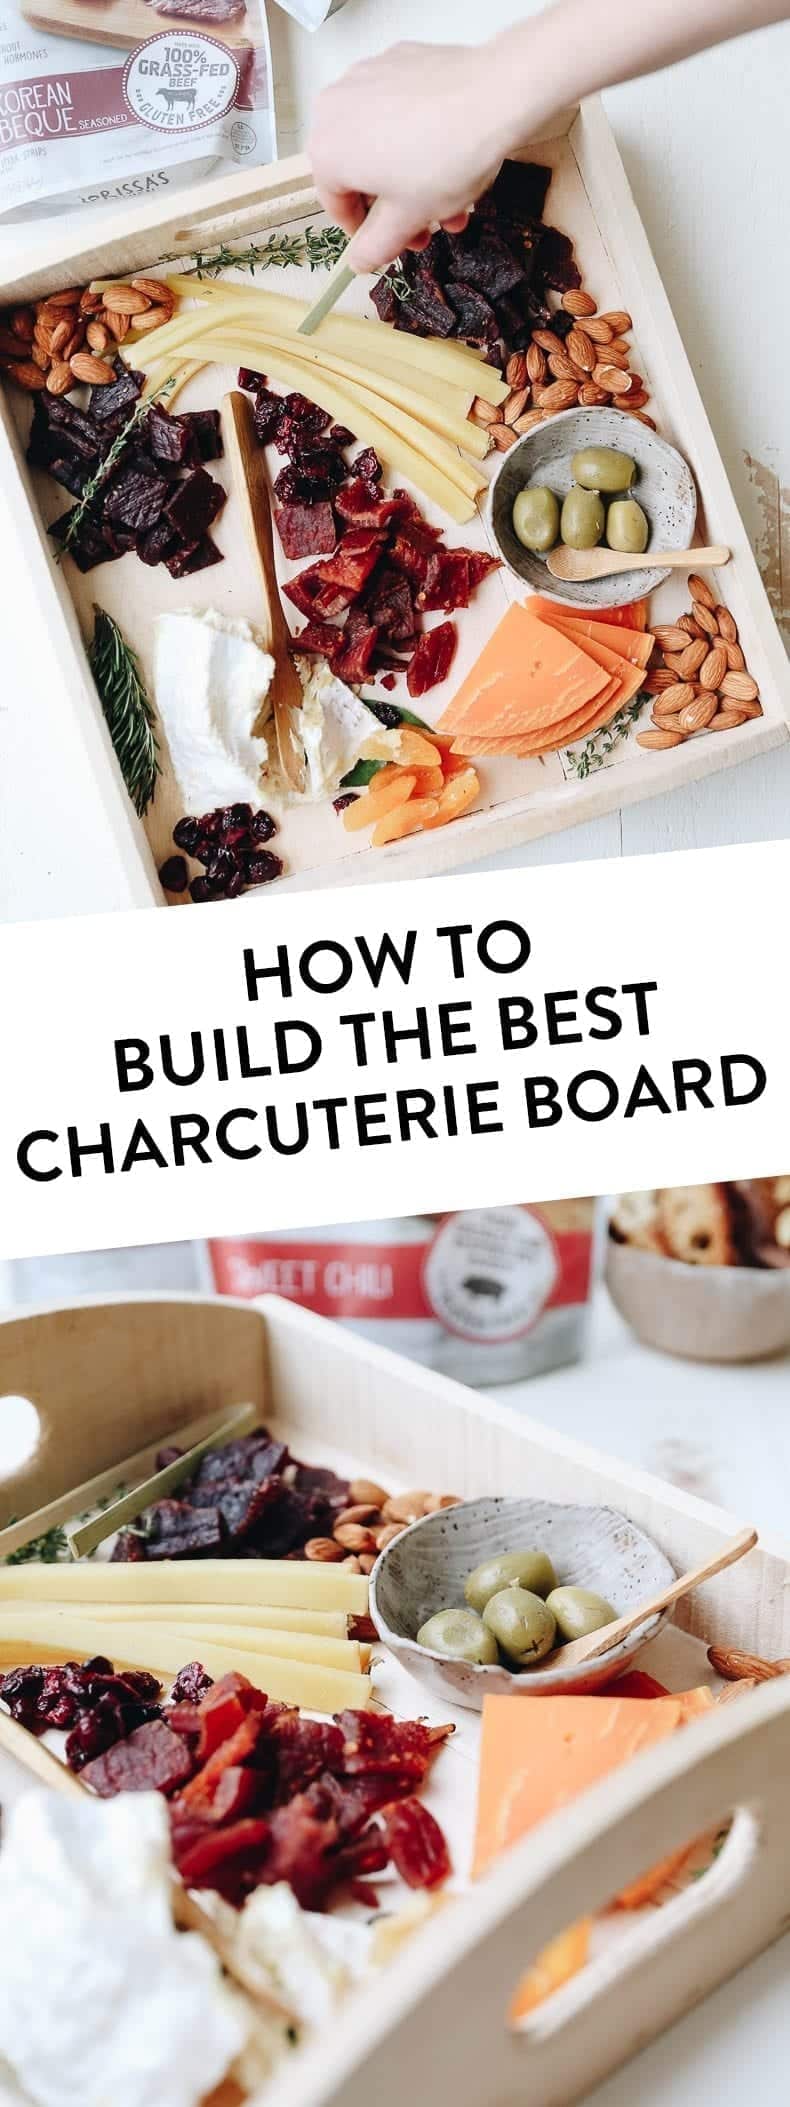
How To Build The Best Charcuterie Meat Board
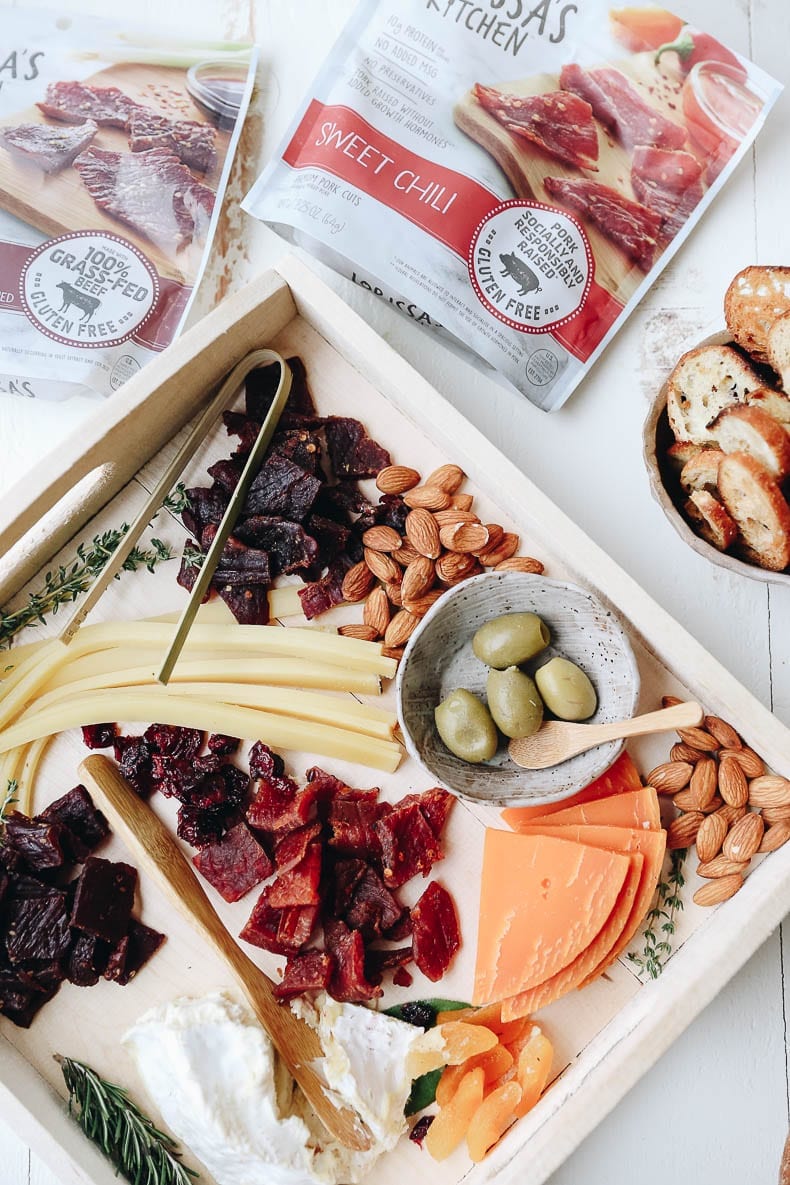
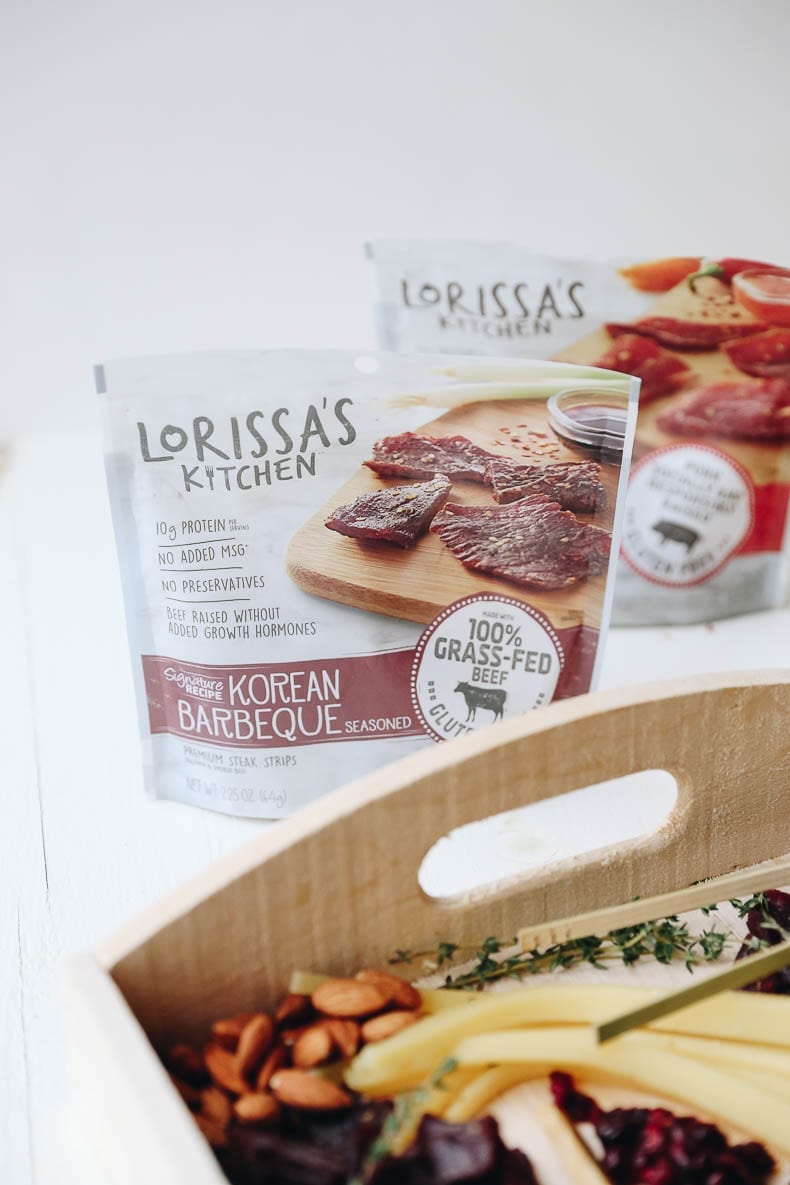
1. Meat – I like to stick to around 3 options when it comes to meat and if I’m being totally honest, I almost always reach for Lorissa’s Kitchen steak strips and chicken cuts when building my charcuterie boards. Like I said, quality is important. Lorissa’s Kitchen is a fabulous You can find Lorissa’s Kitchen at Target, Walgreens, convenience stores and even Amazon.com. I like that the steak strips are made from 100% grass-fed beef and the chicken cuts are raised without antibiotics or added growth hormones; all products are packed full of delicious flavor, free of preservatives, MSG, added nitrites and gluten. They also have the awesome benefit of pairing amazingly with cheese and their website also shares info on which meats pair with which cheeses on each product’s page. I think by now you all know I love my Korean Barbeque Beef but I also like adding the Ginger Teriyaki Chicken and Szechuan Peppercorn Beef for some variety on the board.
Lorissa (yes she’s a real woman! #girlboss) set out to create delicious, healthy snacks that would keep her family well nourished, without sacrificing the quality and responsible ingredients she cares about. I love that this was her mission and it’s exactly why I think it’s the perfect addition to the best charcuterie board.
2. Cheese – like the meat, I like to go with 3 cheese options. I usually go for one hard cheese, 1 soft cheese and 1 “fun” cheese, which usually means something with an interesting flavor or from a sheep or goat. Give variety so there’s a little something for everyone.
3. Crunch – You gotta get a little crunch action in there. This is where things can get fun. I’ve been known to throw some popcorn on there (in a pinch!) but the classic option is nuts. Toasted pecans, marcona almonds or even those addictive Thai Chili Lime Cashews from Trader Joe’s are always a good option. And if you’re an olive fan, don’t forget those! The sky’s the limit, but aim for at least a cup of whatever you choose to spread throughout the board.
4. Sweets – It’s not a charcuterie board without some sweets. Grapes, figs, and dates are all nice options. I’ve used raisins and craisins before. C’s personal favorite is fig spread (when we can get some from his uncle’s fig tree!) but local honey or marmalade is also a great alternative. For the hard sweets, go for a cup spread throughout the board, but for the liquid aim for around a 1/2 cup.
5. The Vessel – You need something to put all this food onto! Whether it’s crackers, bread or even sweet potato toast, be sure to pick a vessel of choice. My personal favorites are crostini or some crusty french bread. Really can’t go wrong with either. Aim for at least a loaf of bread and 4 cups of crackers.
6. Decor – Now I’ll admit that in a hurry, I totally skip this part, but if I’m feeling fancy I always like to up my game with a little charcuterie board decor. Fresh herbs are always a nice touch, a pretty cheese board, nice bowls for almond bits or liquid sweets. Small signs for cheese and meats to help people differentiate between each is always a nice touch but based on my poor writing I almost always skip this part. No measurements on this, just have fun!
PrintThe BEST Charcuterie Meat Board
- Prep Time: 20 minutes
- Cook Time: 0 minutes
- Total Time: 20 minutes
- Yield: 8 1x
Ingredients
- 1 hard cheese (gouda, manchego, parmesan etc…)
- 1 soft cheese (brie, roquefort, gorgonzola)
- 1 package of Lorissa’s Kitchen Szechuan Peppercorn
- 1 package of Lorissa’s Kitchen Korean Barbeque
- 1 package of Lorissa’s Kitchen Ginger Teriyaki
- 1 cup of crunch (nuts, seeds, olives, popcorn)
- 1 cup of dried sweets (cherries, craisins, dates, figs etc…)
- 1/2 cup of liquid sweets (honey, fig spread, marmalade etc..)
- 1 loaf of fresh bread, sliced or 4 cups of crackers
- optional: decor (see above for ideas)
Instructions
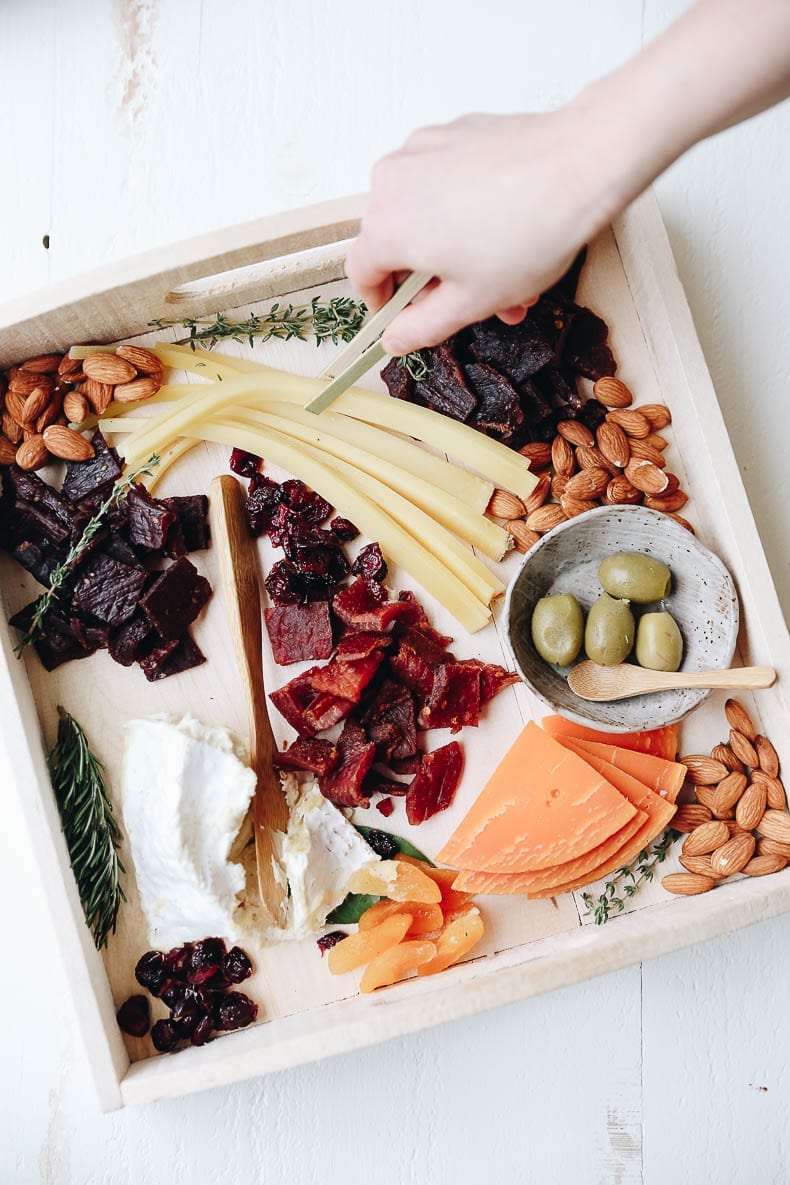
- Place all ingredients (except vessel) on a flat board or tray, spread out evenly.
- Place vessel (bread, crackers etc…) in a basket next to tray.
- Provide extra dishes for olive pits or cheese skins.
- Place decor artistically.
- Serve immediately or store in fridge (covered) until ready to serve.
Disclaimer: This post is sponsored by Lorissa’s Kitchen. I’m excited to be working with them for the third year in a row! Thank you for supporting the brands that help make THM possible.
What do your charcuterie boards look like? What feels like “adulting” to you?
JOIN THE THM NEWSLETTER
Join 20,000+ members of the THM Community to get access to exclusive recipes, healthy lifestyle tips and behind-the-scenes news from our team!



5 Comments
Arthur C. Jackson
April 5, 2019 at 5:13 amThanks for making a simple and easy recipe. Great mixture of ingredients to cover the board. Is there any other selection of food to make it more unique, appetizing and special?
★★★★★
monali
March 16, 2018 at 7:35 amthank you so much for sharing this reciepe…i would like to try this one
Vania
March 6, 2018 at 3:33 amHey Davida, this plate is a wonderful way to welcome your guests, thanks for the idea.
Kate
January 30, 2018 at 10:09 pmLove this! My friends and I love to have wine and cheese nights…my favorite cheese is usually simple goat cheese, but my mom and I just got some cranberry white cheddar that I’m looking forward to trying.
Davida @ The Healthy Maven
February 19, 2018 at 3:48 pmUmmm that sounds amazing! Casually just waiting for my invite over here 😉